Spaceship manages DNS in its Advanced DNS Manager, with fields for Hostname, Record type, Priority and Value. To receive mail at every address on a domain with Free Domain Mail, add one TXT record that proves you own the domain and one MX record that sends incoming mail to mx.freedomainmail.com.
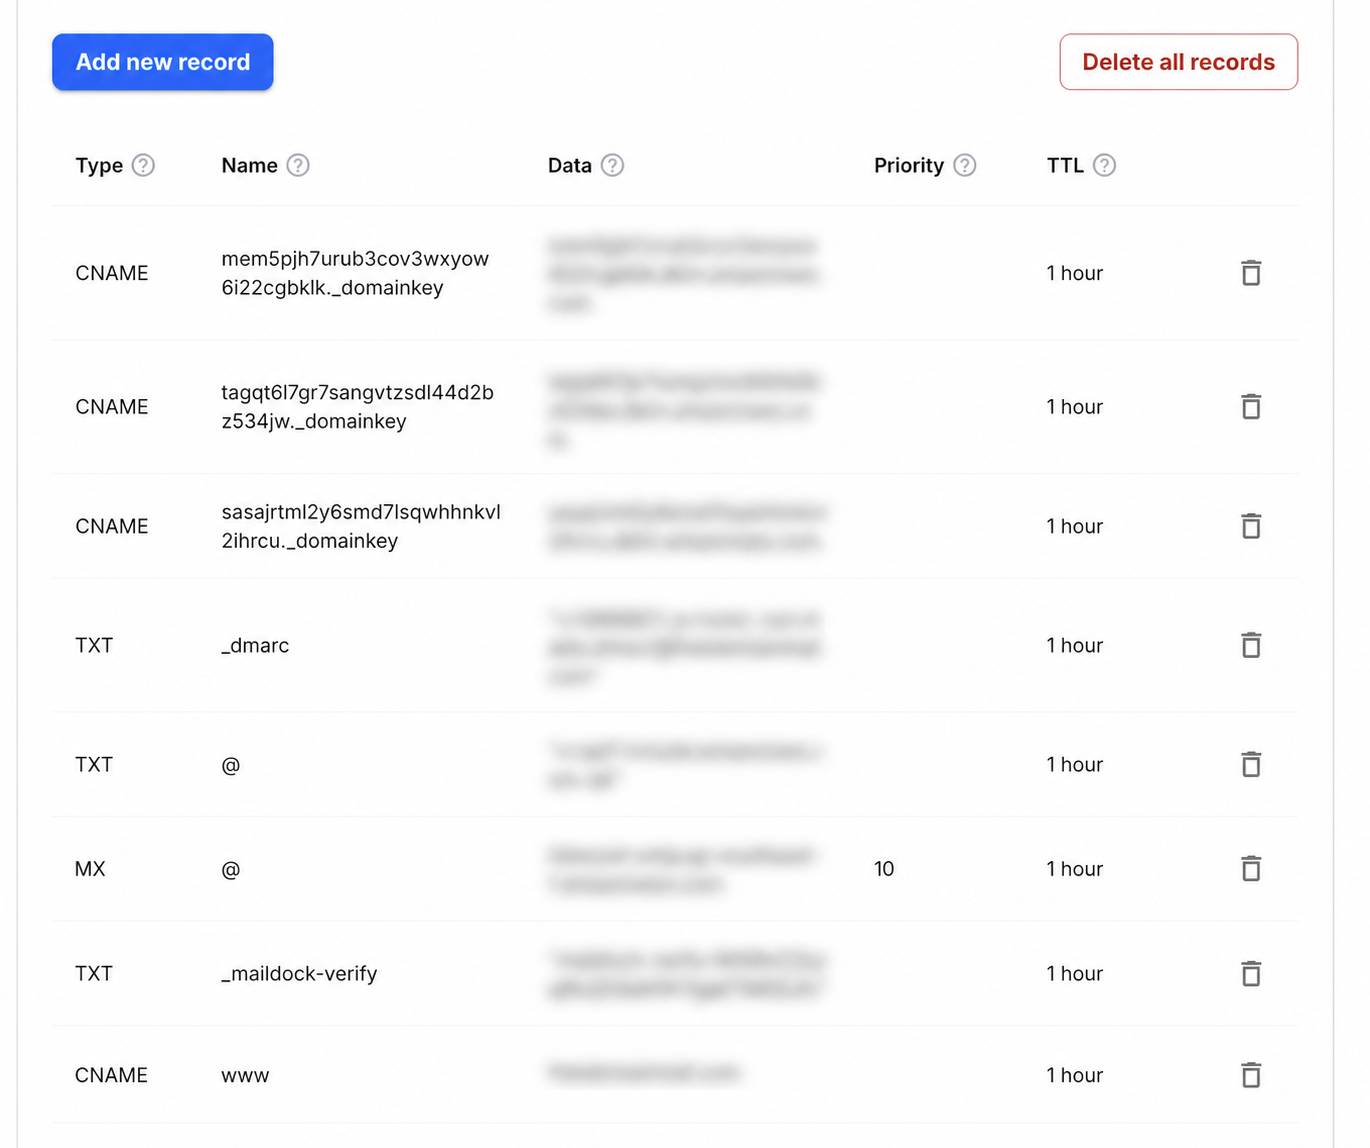
Step-by-step setup
- 1Open Advanced DNS Manager in Spaceship and select the domain.
- 2Go to DNS records, then Custom records.
- 3Add a TXT record with Hostname _maildock-verify and the maildock-verify=… value shown in the app.
- 4Add an MX record with Hostname @, Value mx.freedomainmail.com and Priority 10.
- 5Delete other MX records and any Email Forwarding rules for the domain.
- 6Wait for propagation, then run DNS Checker below; once both records pass, every address at the domain receives mail.
What goes in each DNS field
| Type | Name / Host | Value / Data | Priority |
|---|---|---|---|
MX | @ | mx.freedomainmail.com | 10 |
TXT | _maildock-verify | maildock-verify=… (shown in the app) | — |
Interface reference: Spaceship — DNS record types. Always copy the domain-specific values shown inside your Free Domain Mail setup.
The two records for a catch-all inbox
Free Domain Mail turns a domain you own into a catch-all inbox: every address at the domain receives mail, and there are no mailboxes to create. It is receive-only, so it never sends or forwards mail, and messages are kept for 30 days.
You add two records: a TXT record at _maildock-verify that proves you own the domain, with the maildock-verify=… value shown in the app (it is unique to your domain, so copy it exactly), and an MX record for the root of the domain that points to mx.freedomainmail.com with priority 10.
Type  Name / Host        Value                                  Priority
TXT   _maildock-verify   maildock-verify=… (shown in the app)  —
MX    @                  mx.freedomainmail.com                  10
Add the records in Spaceship
Open Advanced DNS Manager, select the domain, go to DNS records and then Custom records. Choose the record type, fill in the fields and select Add; use +Add record for the next one.
Add a TXT record with Hostname _maildock-verify and the maildock-verify=… value from the app. Spaceship treats the hostname as relative, so _maildock-verify becomes _maildock-verify.yourdomain.com. Then add an MX record with Hostname @, Value mx.freedomainmail.com and Priority 10.
Remove other MX records and email forwarding
Delete any other MX records for the domain, including ones added for Spacemail or another mail service. If you set up Spaceship Email Forwarding for the domain (Domain Manager, then Email Forwarding), remove those rules too, because forwarding also needs the domain's mail to arrive at Spaceship.
If the domain already receives mail you depend on, connect a different domain instead: the MX records decide where all mail for the domain goes.
Records belong at the DNS provider in charge
Spaceship records only work while the domain uses Spaceship's nameservers. If the domain points to Cloudflare or another DNS provider, add the records there. Spaceship says changes usually spread within a few hours, depending on the TTL.
SPF, DKIM and DMARC: only if this domain also sends mail
Free Domain Mail never sends mail, so the catch-all inbox does not need SPF, DKIM or DMARC. These records are only needed if this domain also sends mail through another provider.
In that case keep one SPF TXT record at the root and merge every sending service into it rather than adding a second v=spf1 record. Copy DKIM selectors exactly as that provider shows them, and publish DMARC as a TXT record at _dmarc, starting with p=none.
Check the result
Wait for the old TTL to pass, then run an MX lookup from outside Spaceship. The answer should list only mx.freedomainmail.com.
Send a message from an outside account to any name at the domain, even one you have never used. If it arrives in the inbox, the catch-all is working.
Common mistakes to avoid
- Leaving Spacemail or forwarding MX records in place next to mx.freedomainmail.com.
- Typing the full domain into Hostname, which doubles it.
- Adding records in Spaceship while the domain uses another DNS provider.
Frequently asked questions
What do I put in Hostname for the MX record?
@, which Spaceship uses for the root of the domain.
Can I keep Spaceship email forwarding?
Not on the same domain. The MX records decide where all mail for the domain goes, so only one receiving service can be in charge.
How long do changes take?
Usually a few hours depending on the TTL; up to 48 hours if you also changed nameservers.
Do I need to create each email address?
No. Once the TXT and MX records are verified, every address at the domain receives mail.