이 문서는 등록 기관을 바꾸지 않고 GoDaddy DNS을(를) 설정하는 단계를 설명합니다.
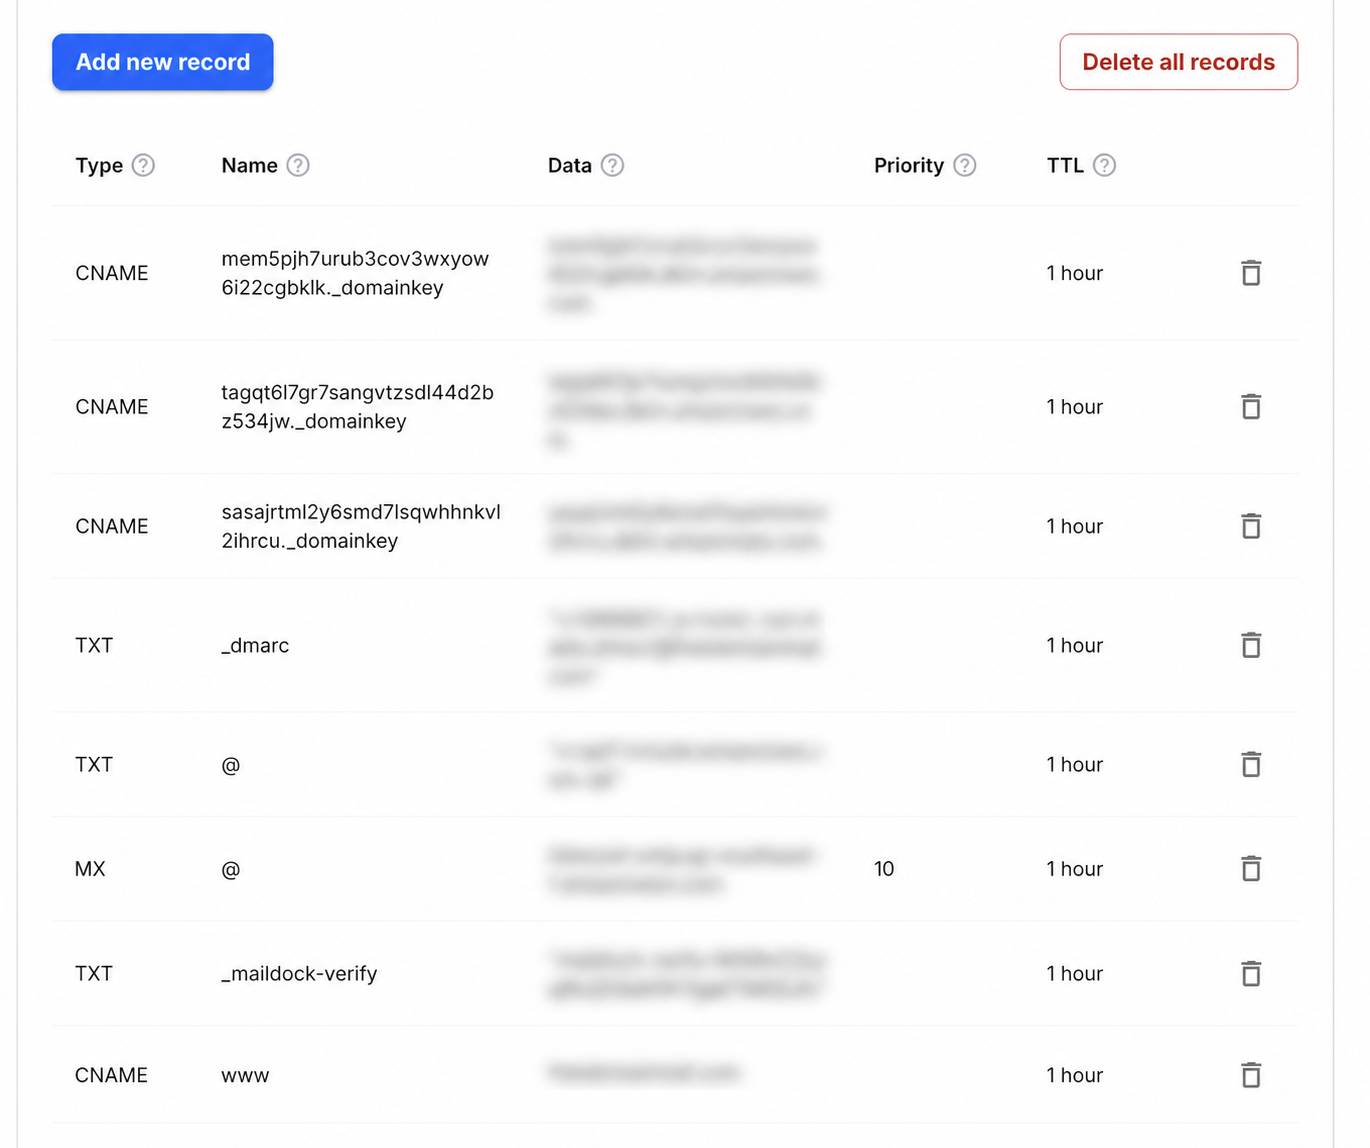
Step-by-step setup
- 1Sign in to GoDaddy, open Domain Portfolio and select the domain.
- 2Choose DNS, then confirm the nameservers shown are the ones currently authoritative.
- 3Select Add New Record and add a TXT record with Name _maildock-verify and the maildock-verify=… value shown in the app; if the editor wants the full name, use _maildock-verify.yourdomain.com.
- 4Add an MX record with Name @, Value mx.freedomainmail.com and Priority 10, then delete any other MX records for the domain.
- 5Wait for propagation, then run DNS Checker below; once both records pass, every address at the domain receives mail.
What goes in each DNS field
| Type | Name / Host | Value / Data | Priority |
|---|---|---|---|
MX | @ | mx.freedomainmail.com | 10 |
TXT | _maildock-verify | maildock-verify=… (shown in the app) | — |
TXT | @ | SPF (v=spf1 …): only if you send from another provider; if a v=spf1 record already exists, merge senders into that one v=spf1 record | — |
TXT | _dmarc | v=DMARC1; p=none; …: only if you send from another provider | — |
Interface reference: GoDaddy: manage DNS records. Always copy the domain-specific values shown inside your Free Domain Mail setup.
시작 전 확인
도메인과 DNS 제공업체를 먼저 확인한 뒤 GoDaddy DNS에 필요한 레코드를 준비합니다.
단계별 설정
GoDaddy DNS의 호스트와 값을 정확히 복사하세요. 중복 레코드나 도메인 이름의 중복 입력은 피해야 합니다.
게시 후 확인
DNS 전파 후 검사 도구를 실행하세요. 실패하면 문자와 TTL을 하나씩 비교하세요.
Common mistakes to avoid
- 흔한 실수는 중복 레코드, Host 필드에 도메인을 다시 입력하는 것, 오래된 값을 사용하는 것입니다.
자주 묻는 질문
DNS 레코드는 언제 적용되나요?
TTL과 DNS 제공업체에 따라 보통 몇 분에서 몇 시간이 걸립니다.