Ce guide explique comment configurer DNS GoDaddy étape par étape sans changer de registraire.
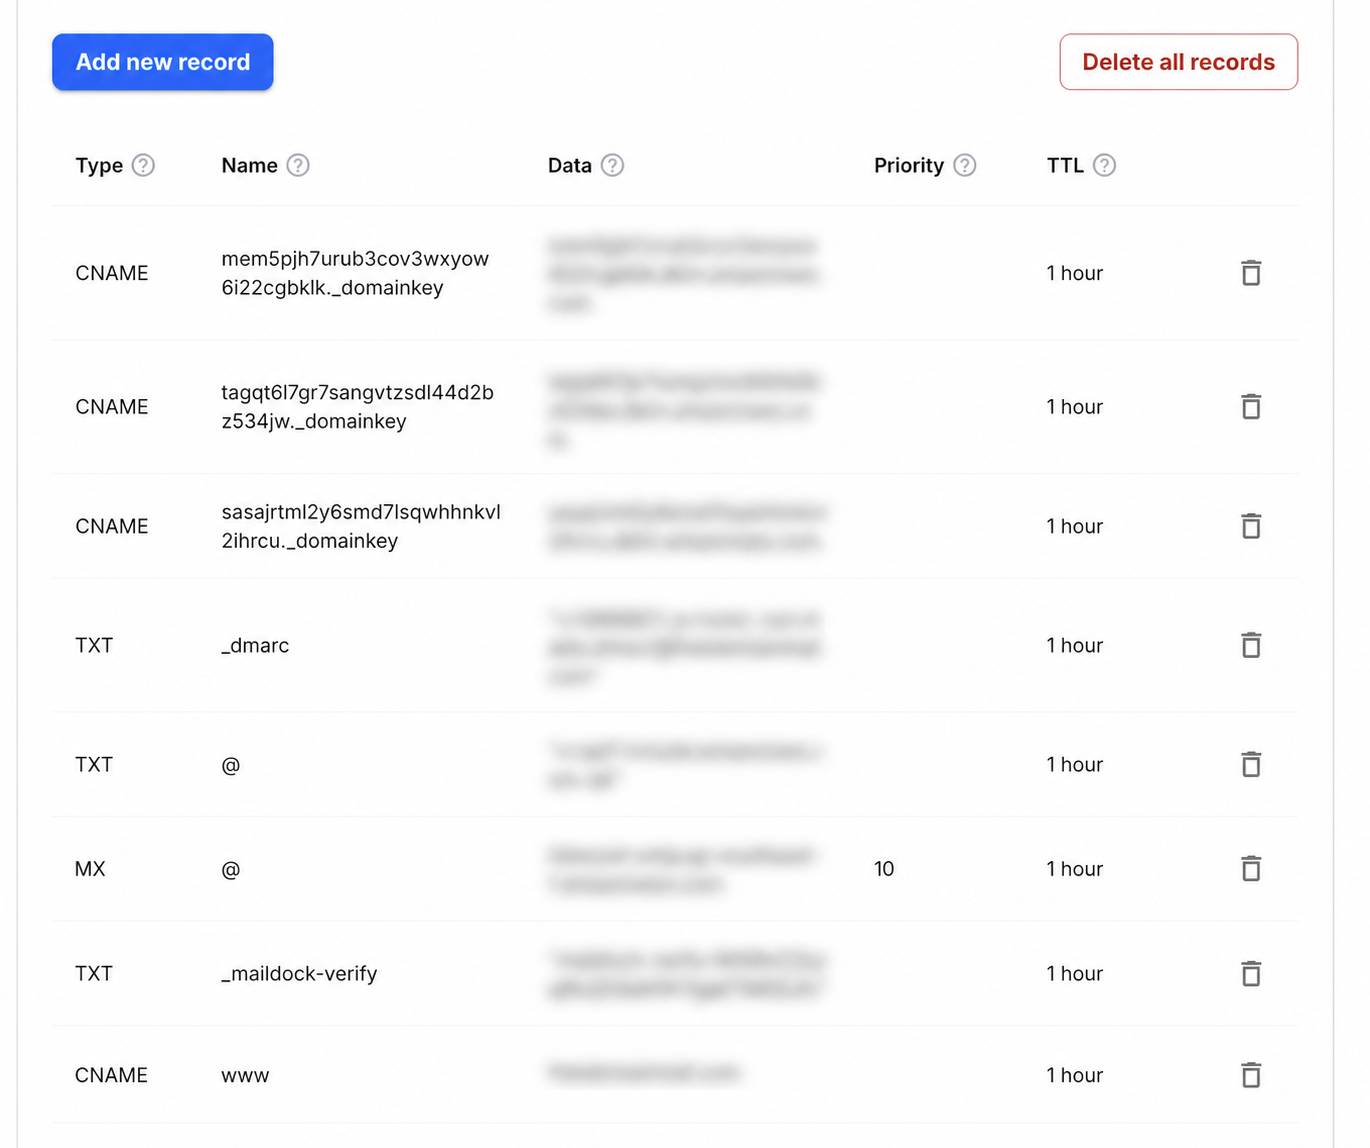
Step-by-step setup
- 1Sign in to GoDaddy, open Domain Portfolio and select the domain.
- 2Choose DNS, then confirm the nameservers shown are the ones currently authoritative.
- 3Select Add New Record and add a TXT record with Name _maildock-verify and the maildock-verify=… value shown in the app; if the editor wants the full name, use _maildock-verify.yourdomain.com.
- 4Add an MX record with Name @, Value mx.freedomainmail.com and Priority 10, then delete any other MX records for the domain.
- 5Wait for propagation, then run DNS Checker below; once both records pass, every address at the domain receives mail.
What goes in each DNS field
| Type | Name / Host | Value / Data | Priority |
|---|---|---|---|
MX | @ | mx.freedomainmail.com | 10 |
TXT | _maildock-verify | maildock-verify=… (shown in the app) | — |
TXT | @ | SPF (v=spf1 …): only if you send from another provider; if a v=spf1 record already exists, merge senders into that one v=spf1 record | — |
TXT | _dmarc | v=DMARC1; p=none; …: only if you send from another provider | — |
Interface reference: GoDaddy: manage DNS records. Always copy the domain-specific values shown inside your Free Domain Mail setup.
Avant de commencer
Identifiez votre domaine et son fournisseur DNS avant d’ajouter les enregistrements pour DNS GoDaddy.
Configuration étape par étape
Copiez exactement le nom et la valeur de DNS GoDaddy; évitez les doublons et n’ajoutez pas deux fois le domaine racine.
Vérification après publication
Attendez la propagation DNS puis lancez la vérification. En cas d’échec, comparez chaque caractère et le TTL.
Common mistakes to avoid
- Erreur fréquente : créer des doublons, répéter le domaine dans Host ou utiliser une ancienne valeur.
Questions fréquentes
Quand un enregistrement DNS est-il actif ?
Cela prend généralement quelques minutes à quelques heures selon le TTL et le fournisseur.